


My recent articles have focused on metadata and the overall search engine optimization (SEO) of Next.js websites by showing how to build sitemaps and RSS feeds. However, you won't see how those things impact your website if you don't keep track of how your website performs.
That's why this article is about adding Google Analytics to your Next.js website.
You can achieve this in two different ways with Next.js:
Sign Up for a Free Google Analytics Account
You can sign up at the Google Analytics website.
With Google Analytics, you can:
- measure your website performance
- identify your target audience
- optimize your content
After you create an account, you will be provided with JavaScript code you need to insert into your website.
You can achieve in two different ways with Next.js:
Plan A: Use the Next.js Script component
A1. Add the Google Analytics JS Code Snippet to Your Next.js Website
You can accomplish this with the Next.js Script component.
The first part of the JS code snippet is straightforward. It contains your Google Analytics ID, so just note that you need to get that from the code Google provides.
You will need to insert the JS code snippet in your root layout.tsx file after the closing </body> tag.
Here's what my file looks like with the first <Script> component added:
// app/layout.tsx

import Script from 'next/script'

// rest of my layout.tsx file here...

return (
    <html lang="en">
        <body>
            {children}
        </body>
        <Script async src="https://www.googletagmanager.com/gtag/js?id=G-YOUR-ID-NUMBER" />
    </html>
)
The second <Script> component you need to add will use what the Next.js docs refer to as inline scripts.
This part of the Google Analytics JS code snippet is shown between traditional opening and closing HTML <script> tags when they provide it. In Next.js, when you use the <Script> component in this way, you need to wrap the enclosed JS code with curly braces { } and backticks. You also need to give the opening tag an id="gtag" attribute.
Here's my code with the 2nd Google Analytics JS code snippet included:
// app/layout.tsx

import Script from 'next/script'

// the rest of my layout.tsx file here...

return (
    <html lang="en">
        <body>
            {children}
        </body>
        <Script async src="https://www.googletagmanager.com/gtag/js?id=G-YOUR-ID-NUMBER" />
        <Script id="gtag">
            {`window.dataLayer = window.dataLayer || [];
            function gtag(){dataLayer.push(arguments);}
            gtag('js', new Date());
            gtag('config', 'G-YOUR-ID-NUMBER');`}
        </Script>
    </html>
)
A2. Check Your Output
You can run your Next.js project in dev mode with npm run dev to see how this Google Analytics code looks in your web pages. Just open devtools to inspect your page. Near the bottom but before the closing </body> tag, you should see something like this:
<script src="https://www.googletagmanager.com/gtag/js?id=G-YOUR-ID-NUMBER" async="true" data-nscript="afterInteractive"></script>
<script id="gtag" data-nscript="afterInteractive">
    window.dataLayer = window.dataLayer || [];
    function gtag(){dataLayer.push(arguments);}
    gtag('js', new Date());
    gtag('config', 'G-YOUR-ID-NUMBER');
</script>
Plan B: Use @next/third-parties
B1. Install the @next/third-parties library
@next/third-parties is a new experimental library that (as of December 2023) is still under active development. In the future, this approach will likely be the way to go, but I made it Plan B because it is still currently experimental.
In your terminal window, type the following to install the library:
npm install @next/third-parties
B2. Use the GoogleTagManager component
Here's my root layout.tsx file with the Next.js GoogleTagManager component added instead of the Script component from Plan A:
// app/layout.tsx

import { GoogleTagManager } from '@next/third-parties/google'

// rest of my layout.tsx file here...

return (
    <html lang="en">
        <body>
            {children}
        </body>
        <GoogleTagManager gtmId="G-YOUR-ID-NUMBER" />
    </html>
)
B3. Check the GoogleTagManager Output
Just like Plan A above, you can run your Next.js project in dev mode with npm run dev and see how the GoogleTagManager code looks in your web pages. Open devtools to inspect your page. Near the bottom but before the closing </body> tag, you should see something like this:
<script id="_next-gtm-init" data-nscript="afterInteractive">
      (function(w,l){
        w[l]=w[l]||[];
        w[l].push({'gtm.start': new Date().getTime(),event:'gtm.js'});

      })(window,'dataLayer');
</script>
<script src="https://www.googletagmanager.com/gtm.js?id=G-YOUR-ID-NUMBER" id="_next-gtm" data-ntpc="GTM" data-nscript="afterInteractive"></script>
Final Step for Plans A & B: Deploy Your Code
Finally, you will need to deploy your site to publish the changes to the web. You should be able to tell Google Analytics to verify the code on your deployed Next.js website.
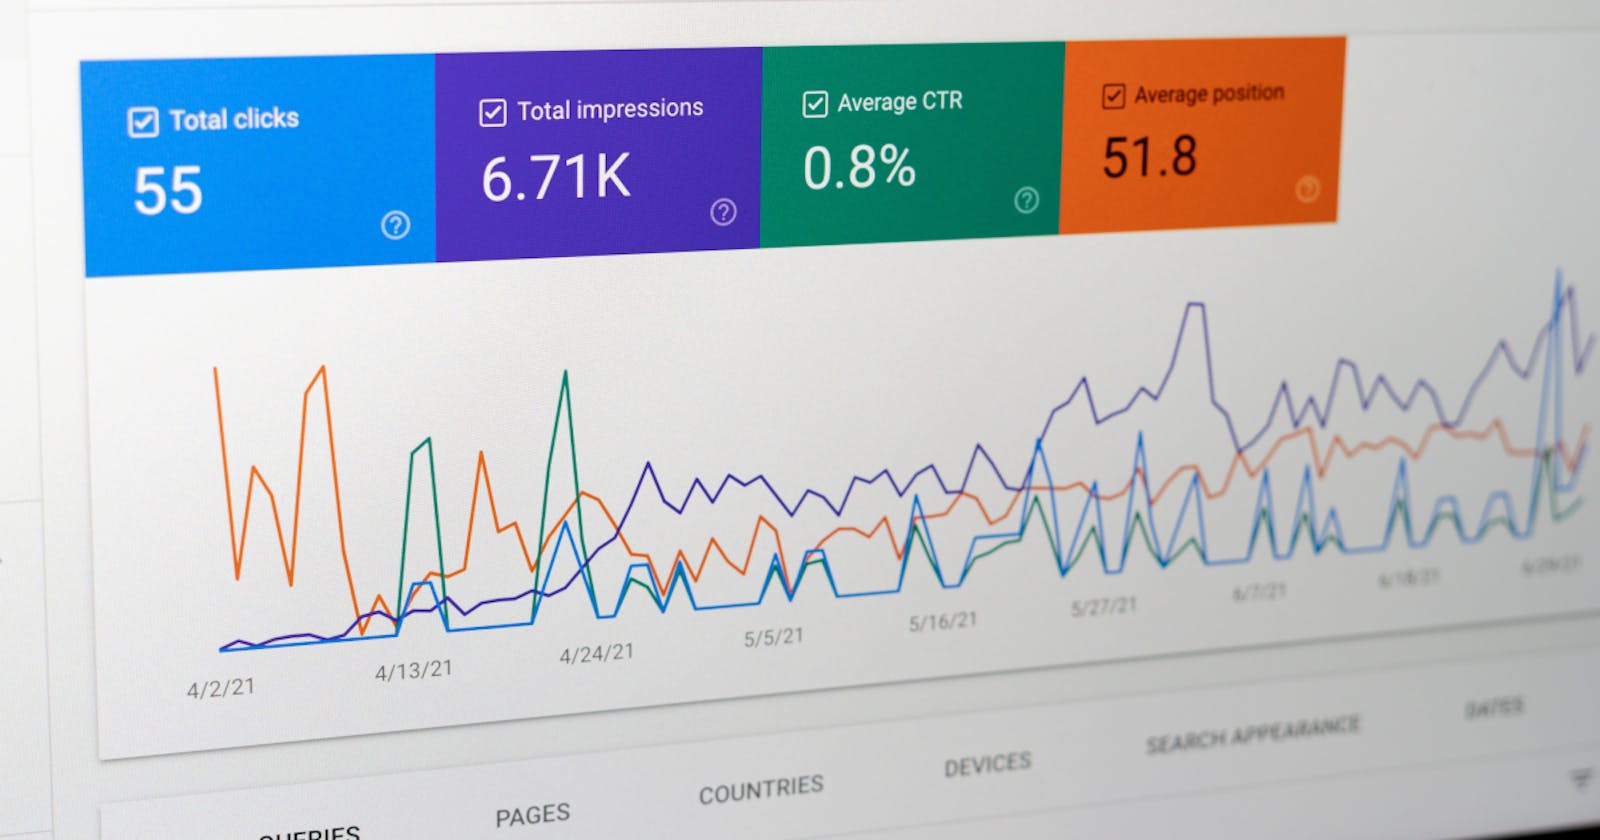
There's a lot you can do in the Google Analytics dashboard. I recommend you connect the dashboard to your Google Search Console where you submit your sitemap. You will find this connection setting in Admin > Product links > Search Console links.
Let's Connect!
If you enjoyed this article, you might enjoy my other content, too.
My Stuff: Courses, Cheat Sheets, Roadmaps
YouTube: @davegrayteachescode
GitHub: gitdagray
LinkedIn: /in/davidagray
Buy Me A Coffee: You will have my sincere gratitude
Thank you for joining me on this journey.
Dave